Jonsered HT 2121 Instruction Manual
Browse online or download Instruction Manual for Grass trimmers Jonsered HT 2121. Jonsered HT 2121 Instruction Manual User Manual
- Page / 29
- Table of contents
- BOOKMARKS
- JONSERED SERVICE 1
- Instruction Manual 1
- Manual de Instrucciones 1
- Manuel d’Instructions 1
- SAFETY RULES 2
- ASSEMBLY 3
- OPERATION 4
- WARNING: 6
- U.S. EPA 8
- EMISSION CONTROL 8
- WARRANTY STATEMENT 8
- REGLAS DE SEGURIDAD 10
- -- 11 11
- ADVERTENCIA: 11
- -- 1 2 12
- INSTRUCCIONES DE USO 13
- -- 1 3 13
- SERVICIO 14
- -- 1 5 15
- ALMACENAJE 16
- -- 1 7 17
- -- 1 8 18
- -- 1 9 19
- RÉGLES DE S ÉCURITÉ 20
- -- 2 1 21
- AVERTISSEMENT : 21
- FONCTIONNEMENT 22
- -- 2 3 23
- UTILISATION DE L’APPAREIL 23
- ENTRETIEN 24
- RANGEMENT 25
- -- 2 6 26
- -- 2 7 27
- AVERTISSEMENT: 27
- -- 2 8 28
- -- 2 9 29
Summary of Contents
530163362 10/4/02JONSERED SERVICEENGLISHESPAÑOLFRANÇAISWARNING:Read and follow all Safety Rules and Operating Instructions beforeusing this product. F
-- 1 0 --REGLAS DE SEGURIDADADVERTENCIA:El no seguir todaslas advertencias e instrucciones de seguri-dad podrá ser el resultado de accidentes desuma g
-- 11 --Permita que lascuchillas se de-tengan antes deremover las delárea de corte.ADVERTENCIA:Las cuchillas pueden arr ojar objetos al aireviolentame
-- 1 2 --Refiera a la sección del SERVICIO par a elmantenimiento de la silenciador y la rejillaantichispa.MONTAJEAVISO:Es normal que el filtro de comb
-- 1 3 --separación y la formación de ácidos duranteel almacenaje. La gasolina ácida puededañar el sistema de combustible del motordurante el almacena
-- 1 4 --HALF CHOKE), verifique que el interrup-tor ON/OFF está en la posición ON. Mue-va la palanca del cebador a la posiciónFULL CHOKE y oprima el b
-- 1 5 --1. Limpie la tapa y la superficie alrededor dela tapa para evitar que caiga suciedad odesechos en el carburador cuando se sa-que la tapa.2. R
-- 1 6 --ALMACENAJEADVERTENCIA:Realice lossiguientes pasos después de cada uso:SPermita que el motor se enfríe y fije bien elaparato antes de guardarl
-- 1 7 --SINTOMA CAUSA SOLUCIONEl motor noarranca.1. Interruptor ON/OFF está enla posición OFF.2. El motor está ahogado.3. El tanque de combustibleest
-- 1 8 --DEC LARAC ION DE GARANT IA DE CONTR OL DEEMISION U.S. EPA/AGEN CIA AMBIENTAL CANADIE NSESUS DERECHOS Y OBLIGACIONES DEGARANTIA: La Agencia de
-- 1 9 --vicio Jonsered. Por favor comuníquese al1--916--383--3511. MANTENIMIENTO, RE-EMPLAZO Y REPARACION DE PIEZASRELACIONADAS CON LA EMISION: Cual-
-- 2 --SAFETY RULESWARNING:Failure to follow allSafety Rules and Precautions can result inserious injury.DANGER:THIS POWER TOOL CANBE DANGEROUS!This u
-- 2 0 --RÉGLES DE S ÉCURITÉAVERTISSEMENT:Tout défaut derespecter tous les avertissements et règlesde sécurité peut entraîner des blessuresgraves.DANG
-- 2 1 --Laissez les lamess’arrêter avant deles enlever de de lacoupeAVERTISSEMENT :Les lames peuvent projeter violement des objets.DElles peuvent cau
-- 2 2 --MONTAGEREMARQUE:Il est normal d’entendre lefiltre à essence cogner dans le réservoird’essence vide.MONTAGEVotre appareil est entièrement asse
-- 2 3 --Pour éviter les dommages permanents auréservoir de carburant, n’utilisez jamais denettoyants pour moteur ou carburateur danscelui--ci.UTILISA
-- 2 4 --8. Faites tourner le moteur pendant 10 sec-ondes, puis mettez le levier de l’étrangleuren position «OFF CHOKE». Permettez àl’appareil de marc
-- 2 5 --INSPECTEZ LE SILENCIEUX ETL’ÉCRAN DU PARE--ÉTINCELLESREMARQUE:L’ÉCRAN PARE--ÉTINCELLES SUR CETTE APPAREIL NEPEUT PAS ÊTRE ENTRETENU.Pour l’us
-- 2 6 --SRangez l’appareil avec tous les protecteursen place. Rangez--le de façon à éviter quetoute surface aiguisée puisse causer desblessures.SRang
-- 2 7 --PROBLÈME CAUSE REMEDYLe moteurrefuse dedémarrer.1. Interrupteur est dans laposition «OFF».2. Moteur noyé.3. Réservoir de carburant vide.4. La
-- 2 8 --DÉCLARATION DEGARANTIE DE LUT TE AN MISSIONSU.S. EPA / ENVIRONNEMENT CANADADROITS ET OBLIGA TIONS DE VOTRE GA-RANTIE:La U. S. Environmental P
-- 2 9 --Renseignements importants sur lemoteur. Ce moteur se forme auxrèglements sur les émissions pourpetits moteurs tout--terrainConsultiz le manue
-- 3 --Allow blades to stopbefore removingthem from the cut.WARNING:Blades can throw objects violently.DYou can be blinded or injured.DWear safety gla
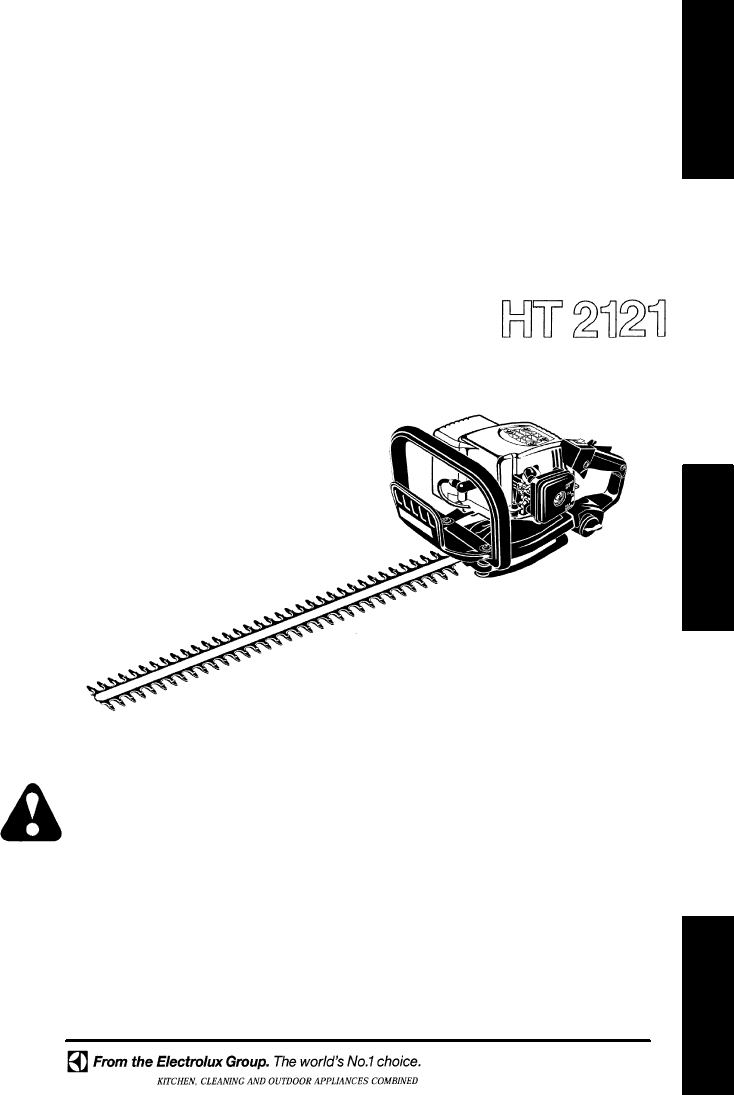
-- 4 --OPERATIONKNOW YOUR HEDGE TRIMMERREAD THIS INSTRUCTION MANUAL AND SAFETY RULES BEFORE OPERATING YOURUNIT. Compare the illustrations with your un
-- 5 --STOPPING YOUR ENGINEDTo stop the engine, move the ON/OFFswitch to the OFF position.STARTING YOUR ENGINEDFuel engine. Move at least 10 feet (3 m
-- 6 --STARTING A FLOODED ENGINEFlooded engines can be started by placingthe ON/OFF switch in the ON position and thechoke lever in the OFF CHOKE posi
-- 7 --Idle Speed ScrewIf you require further assistance or are unsureabout performing this procedure, contact anauthorized service dealer.REPLACE SPA
-- 8 --U.S. EPAEMISSION CONTROLWARRANTY STATEMENTYOUR WARRANTY RIGHTS AND OB-LIGATIONS: The U. S. EnvironmentalProtection Agency, Environment Canada a
-- 9 --The information on the product label indicates w hich standard your engine is certified.Example: (Year) EPA Phase 1 or Phase 2 and/or CALIFORNI
Related products and manuals for Grass trimmers Jonsered HT 2121
 (40 pages)
© 2020, manymanuals.com. All rights reserved. | 0.596 s |
 Manymanuals.com
 Manymanuals.de
 Manymanuals.fr
 Manymanuals.it
 Manymanuals.pl
 Manymanuals.cz
 Manymanuals.es
 Manymanuals-pt.com
Comments to this Manuals